 I decided to rework a mermaid sculpture because I wasn’t really satisfied with it. For one thing, her boobs were really noticeably different sizes.
 (This is her before.) In the intervening few years, I’d learned a bit about doll-making materials and acquired soooo much mermaidy stuff. This was an opportunity to play with some of these materials and techniques.
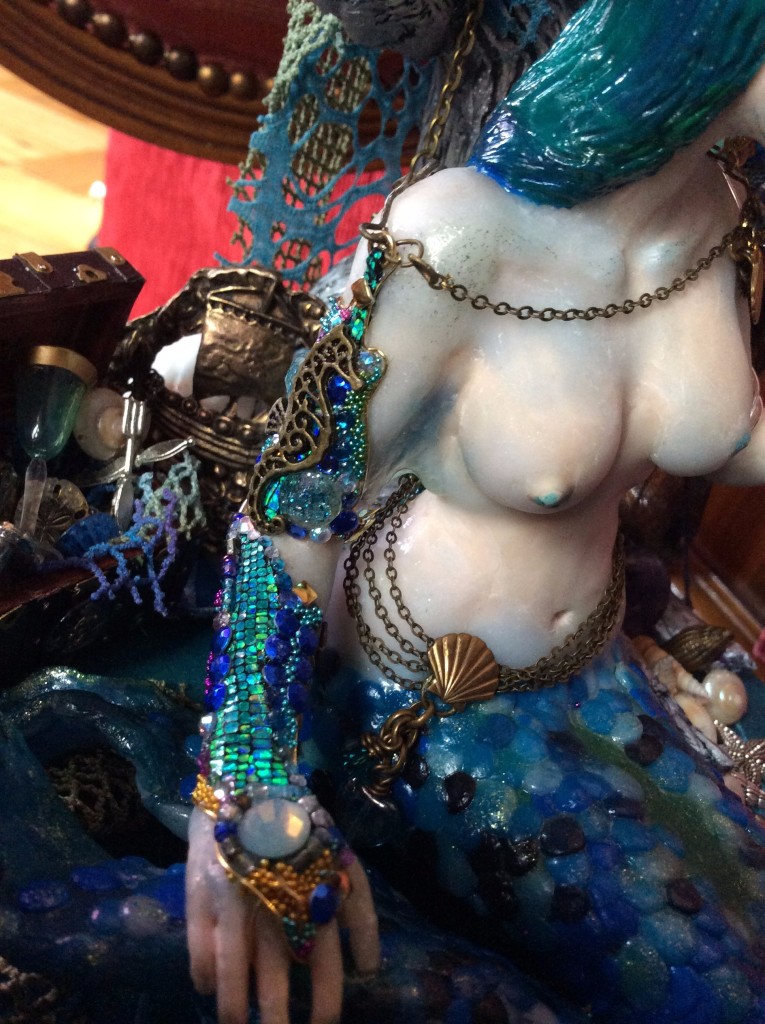
The wonderful thing about polymer clay is that you can sculpt new clay onto a piece and rebake it, even some years later. #fixedthoseboobs.
I mean, one of mine is a little smaller than the other, it’s not like I was judging her- it just looked super awkward in her particular pose.
And I’d learned you can sand the cured clay, which is great for super-smooth fleshly areas. So I improved the sculpt, and then I gave her some fancy swag to wear!
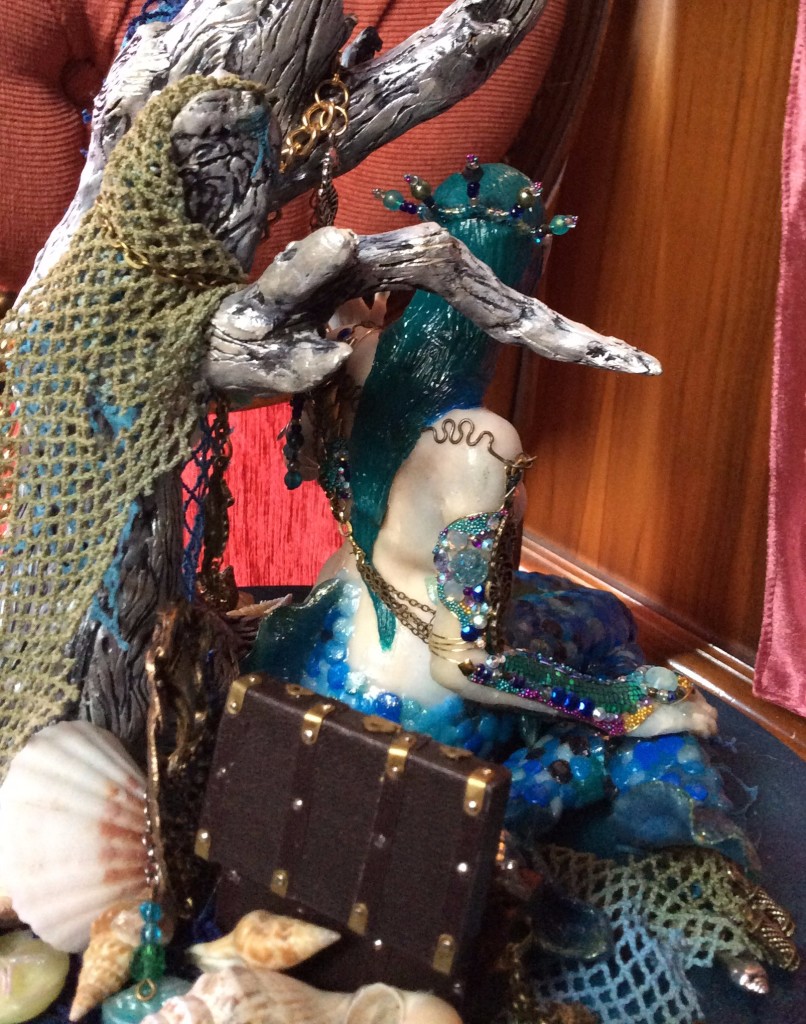
I also used a mixture of materials, which I talk about in this “Learning to Sculpt” post. I made the driftwood tree out of a tinfoil armature covered with epoxy clay and painted. Fork tines made the bark lines, though that was the end of that fork!
 I used Liquid Sculpey on her fingertips and webbing to make them more unpleasantly translucent. I also varnished her to up the translucency of the “Transparent” Fimo, and I used Sakura 3D Crystal Lacquer to put a dome of clear gloss over her eyes.
As you can see her boobs look very nice now. Ten years ago I was at a miniatures show, admiring a beautiful naked fairy, when the artist who made her surprised me.
“Check out her bodacious ta-tas”, the lady in her seventies said, “I always make sure the nipples are nice and pink!”. No reason a doll can’t have a nice bosom!
 I also made her hair ombré so she could be on trend.
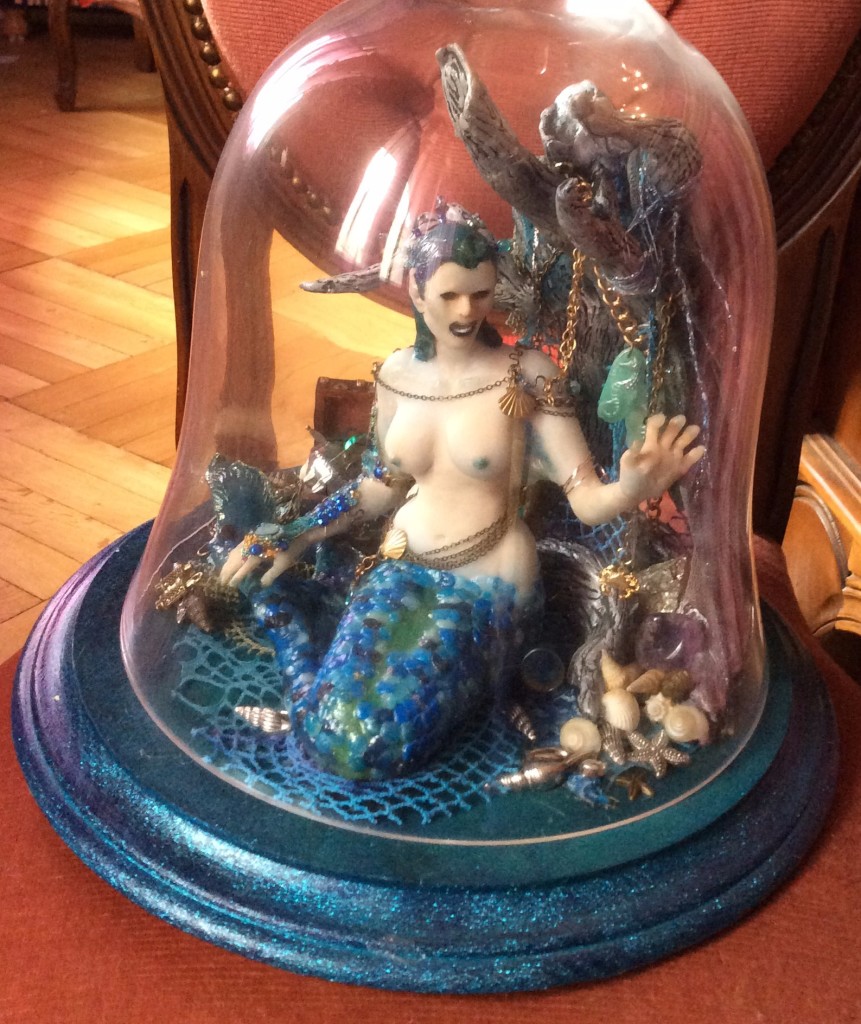
In the end I am enormously pleased with her and her mean little face! Here she is in her dome prison.


Pingback: Snow Queen OOAK Doll with sledge and reindeer, finished! - ChipInHead.com
Pingback: February 2018 Bricolage Roundup, with creepy dolls! - ChipInHead.com