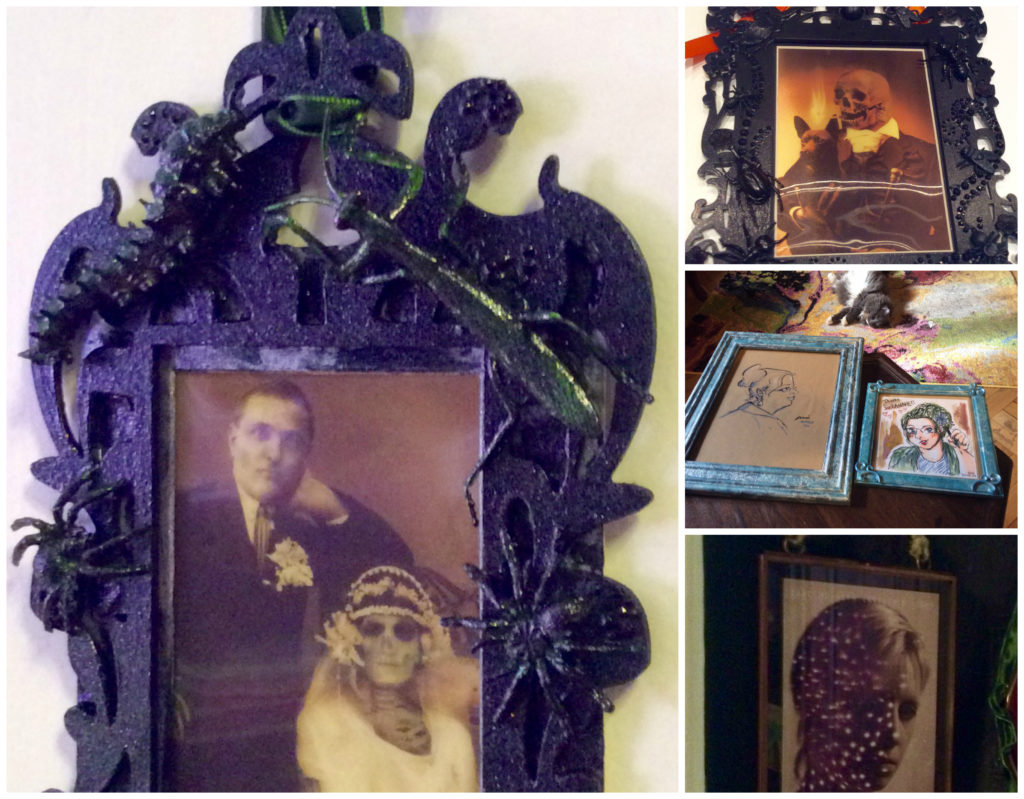
 Lots of frames!
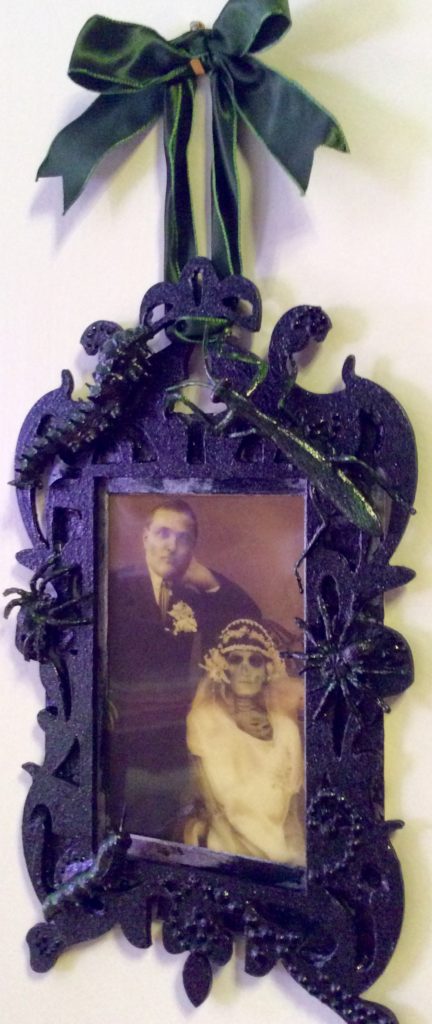
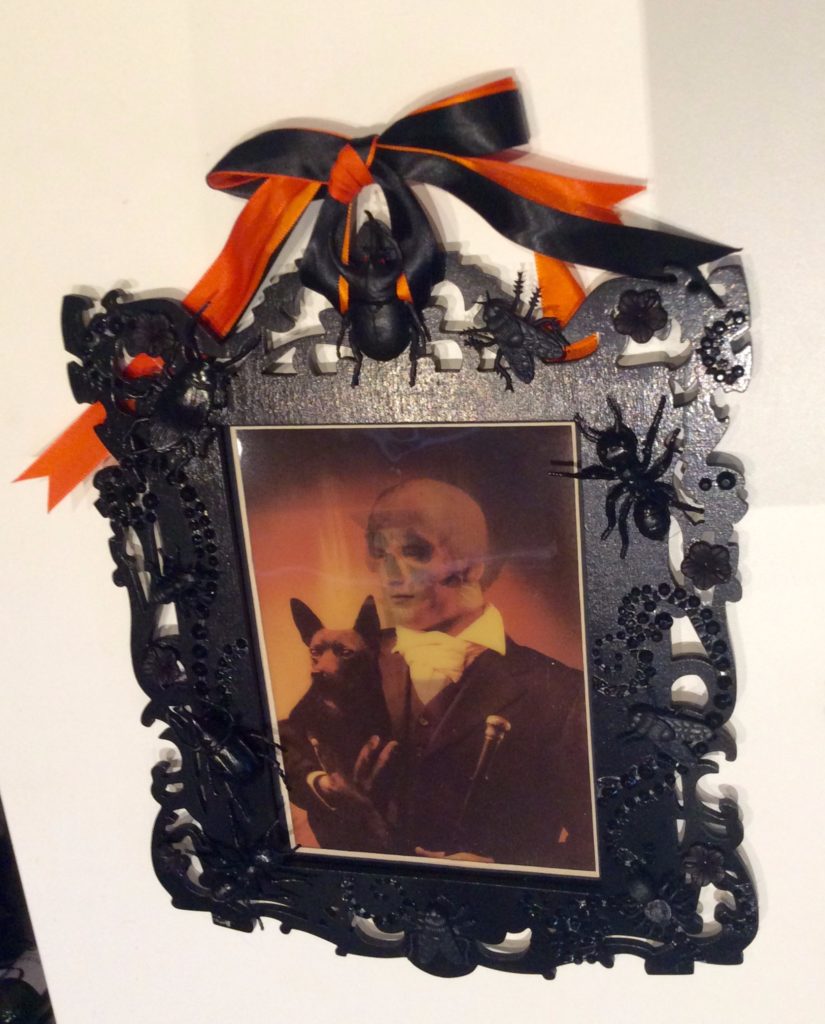
 I am always catching up on framing. I wanted to frame two of the lovely drawings of me made by young women artists this summer, as well as more creepy dollar store lenticulars I brought from the US for Halloween decor.
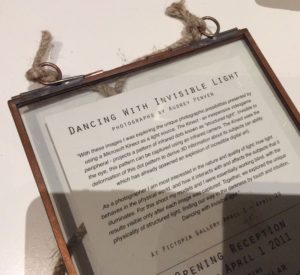
And I finally found a copper frame that was just right for this postcard from beloved friend-muse-Patron Audrey Penven‘s 2011 show.
Floating frames are perfect for postcards because you can look at the back as well. 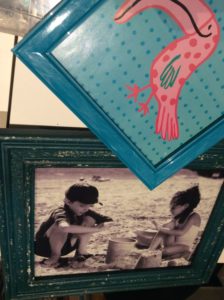
For the drawings I bought frames that were blue to start with, since they would be going in the salon.
(I have a gallery of portraits of me drawn by other artists, because I really believe in portraiture for life documentation. “I’m not just the President, I’m also a client!”.)
I wanted the frames to be a little more special and integrate with the mostly silver and gold existing frames, so I silver-leafed them.
To give the glossy frame a little more tooth on its surface, I scuff-sanded it with a nail file.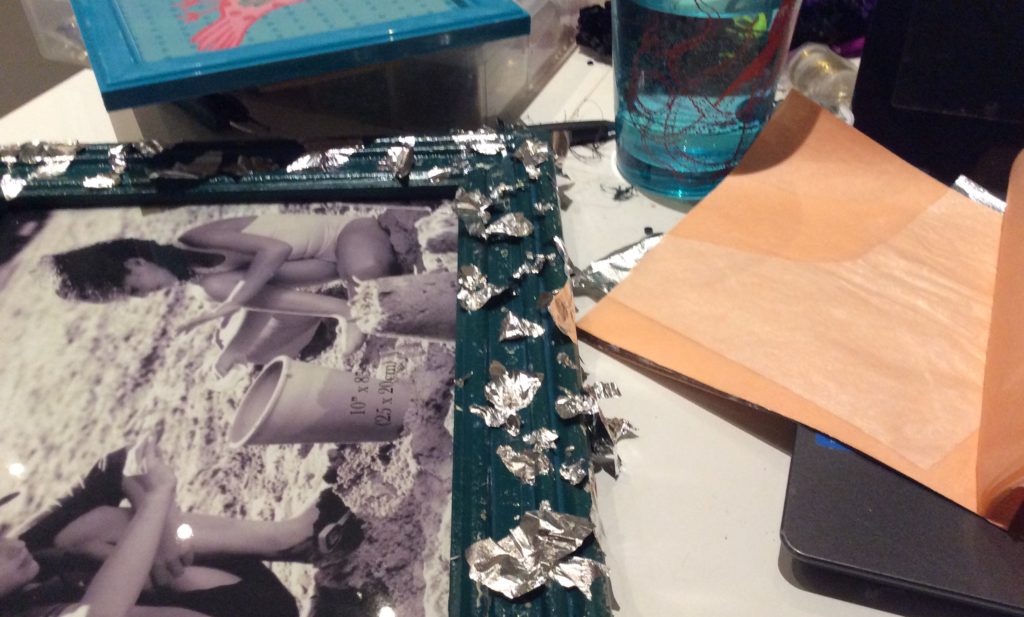
 Then I quickly glazed the frames with some clear polyurethane craft varnish (I was out of my other clear glazing mediums) and stuck bits of silver leaf all over them.
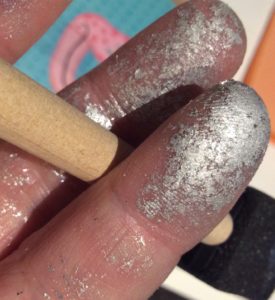
My VERY unorthodox method is to then tap and rub the leaf on the still-sticky frame, picking up bits of leaf with my tacky fingertips and tearing the pieces already attached.
Once I had a nice pattern of distressed leafing, I mixed up a little acrylic paint and used a sponge brush and my fingertips to roughly add some variegated color that partially obscured the leaf.
I found the blue plastic adhesive-backed curleques, made for scrapbooking, when I pulled out the leaf package, so I threw them on there too. More rococo!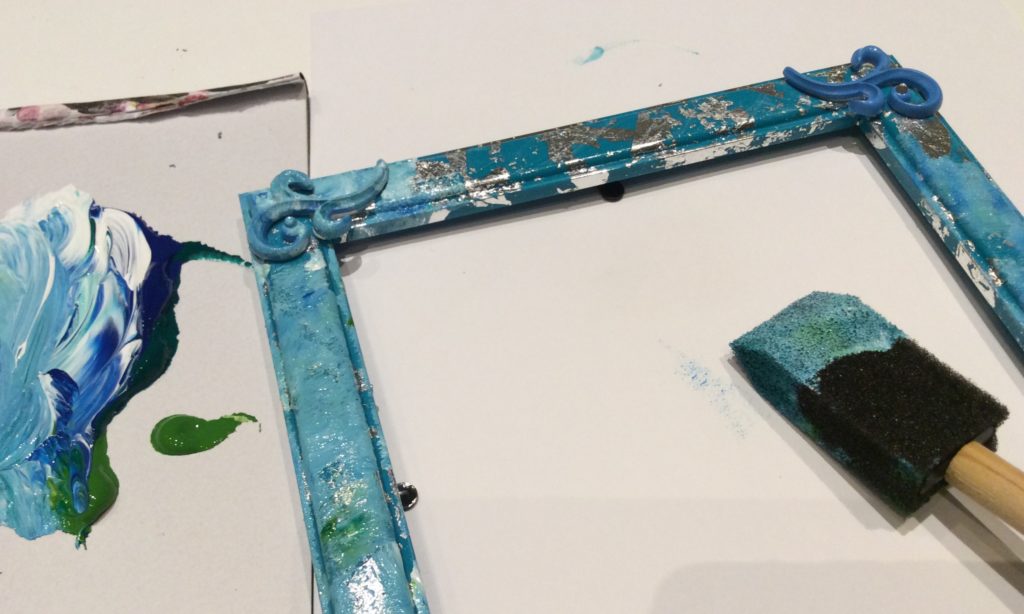
 Once I was done with the painting and the frames were dry, I gave them a thin coat of translucent pearly-gold craft acrylic.
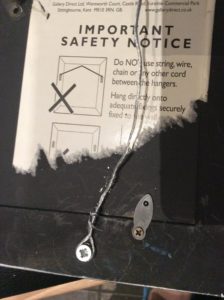
Please note that as is the tradition of my people, I completely disregarded the safety instructions on the back of the large frame. Safety Third!
I’m pleased with the results and happy to have my students’ work hanging in the gallery. Viviane is impressed with my efforts as well, apparently.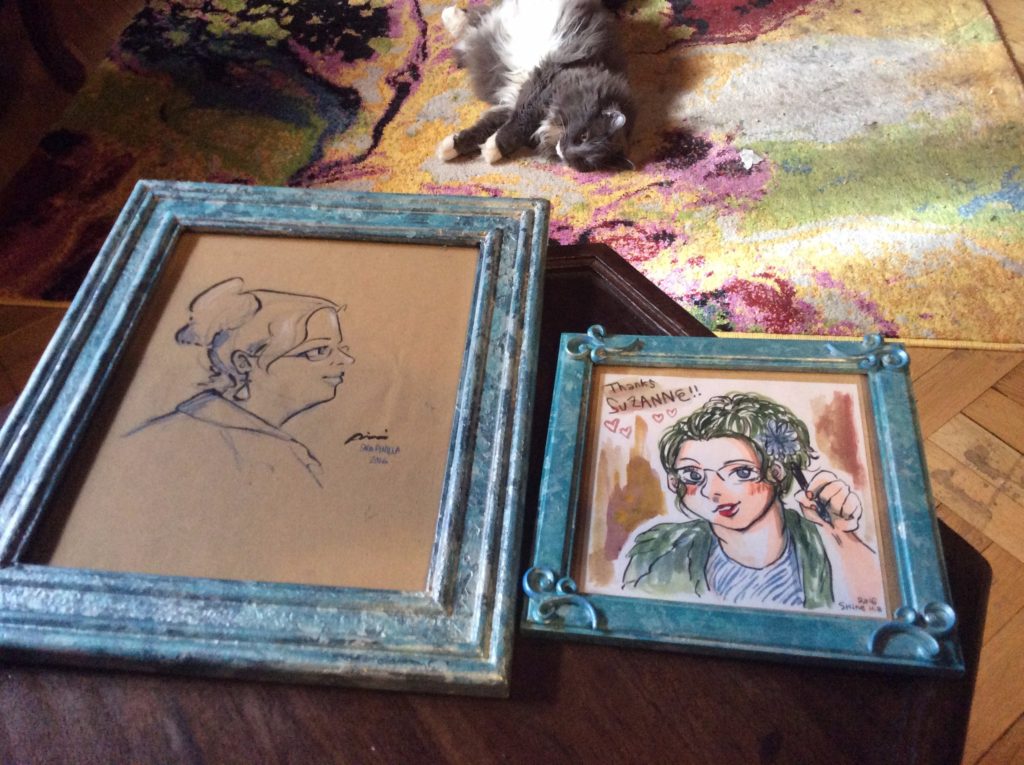
Meanwhile, I was also working on the Halloween projects.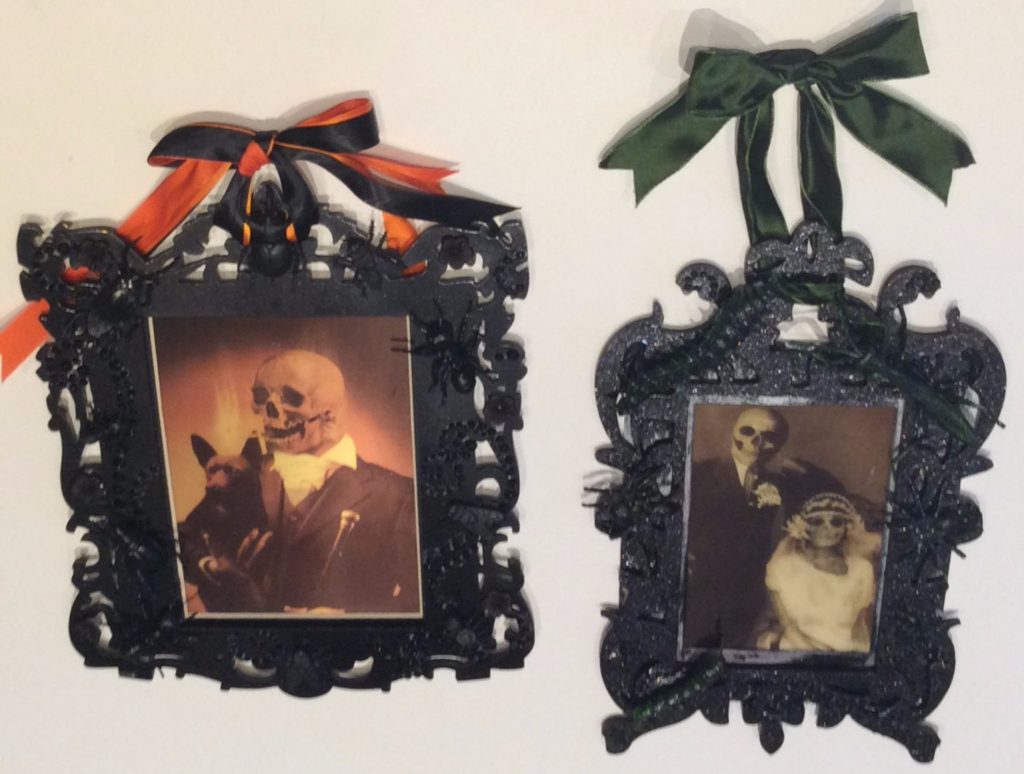
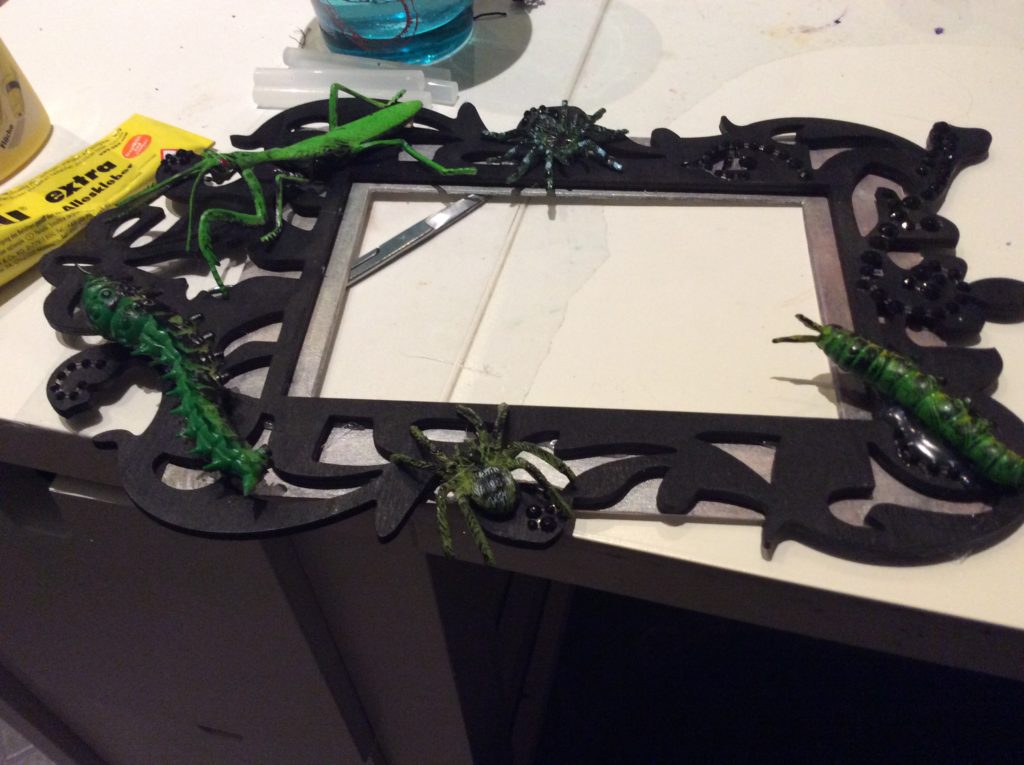
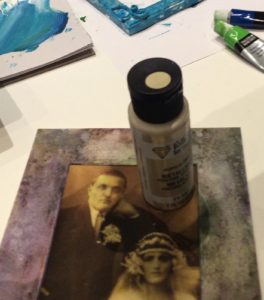
 For the frames, I used the last of the laser-cut wood frames I bought at Michael’s a couple years ago.
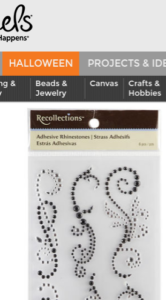
I had painted them black in Oakland, so I just needed to add some black bugs and some of these pre-formed glass rhinestone motifs.
I find these “rhinestone flourishes” useful for Extreme Crafting situations, where you have multiple projects going and need to bust out some finished projects tonight.
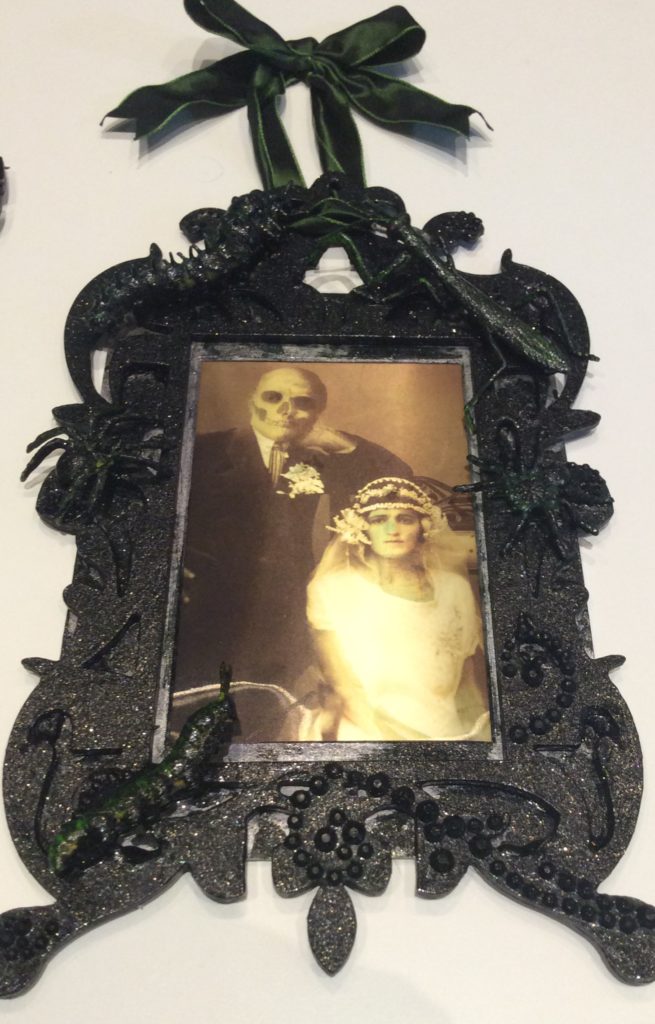 I cut the designs up and move them around as needed, and supplement with actual glass hotfix rhinestones from my stash to finish the details.
I also take a brush and quickly paint black over the most obvious areas of the vinyl adhesive strip that the crystal “flourish” is on.
The greenish bugs had white undersides, so I dry-brushed them with black at the same time to help them integrate into the frame.
I painted the whole green bug frame with multiple coats of Plaid FolkArt “Extreme Glitter” (hey, that’s what it’s called) transparent acrylic glaze with glitter.
 I’m not generally a fan of the “craft” acrylic paints that come in bottles for anything, but I make an exception for sheer glitter, metallic or pearl glazes.
They go on very smoothly, they’re buildable and the tough, rubbery finish stands up to household use. If I could paint my hair with them, I would.
Next month’s bricolage roundup will be all Halloween, all the time- I’m working on half a dozen other Halloween projects besides the beaded mantel scarf I’ll post tomorrow.

We’ve all been “framed” at some point in life but not quite so beautifully.
Pingback: María drawing me while I draw María. - ChipInHead.com
Pingback: Halloween 2016 recap - our first Halloween party in Berlin! - ChipInHead.com
Pingback: October/November bricolage roundup: More Extreme Gothic Crafting. - ChipInHead.com
Pingback: Summer Bug Bricolage Update. - ChipInHead.com
Pingback: Bricolage project: silver leafed assemblage mirror with lots of insects! - ChipInHead.com